How to Create an impressive WordPress Gallery on your site
Nowadays, there are countless websites out there! Some websites clearly stand out and attract more and more visitors every day. What you may not know is that many of those are utilising a WordPress gallery function.
What about your site ? Do you want your site to be attractive, impressive and modern ? Do you want it to stand out from the crowd and promote your business more effectively ?
If the answer is yes, then you should upload a Gallery on it that showcases your work and that persuades potential customers to choose you, instead of the competition.
But how can you set up a gallery on your site ? Is it complicated ?
Read on and you will learn how to upload an impressive gallery on your WordPress site in just a matter of minutes !
STEP 1:
For this guide, we will use a brilliant WordPress Gallery plugin called “NextGen Gallery”. It will let us upload and install multiple image galleries on our site and display them whenever we want.
The first step is to download the plugin. Open your preferred web browser and navigate to:
http://wordpress.org/plugins/nextgen-gallery/
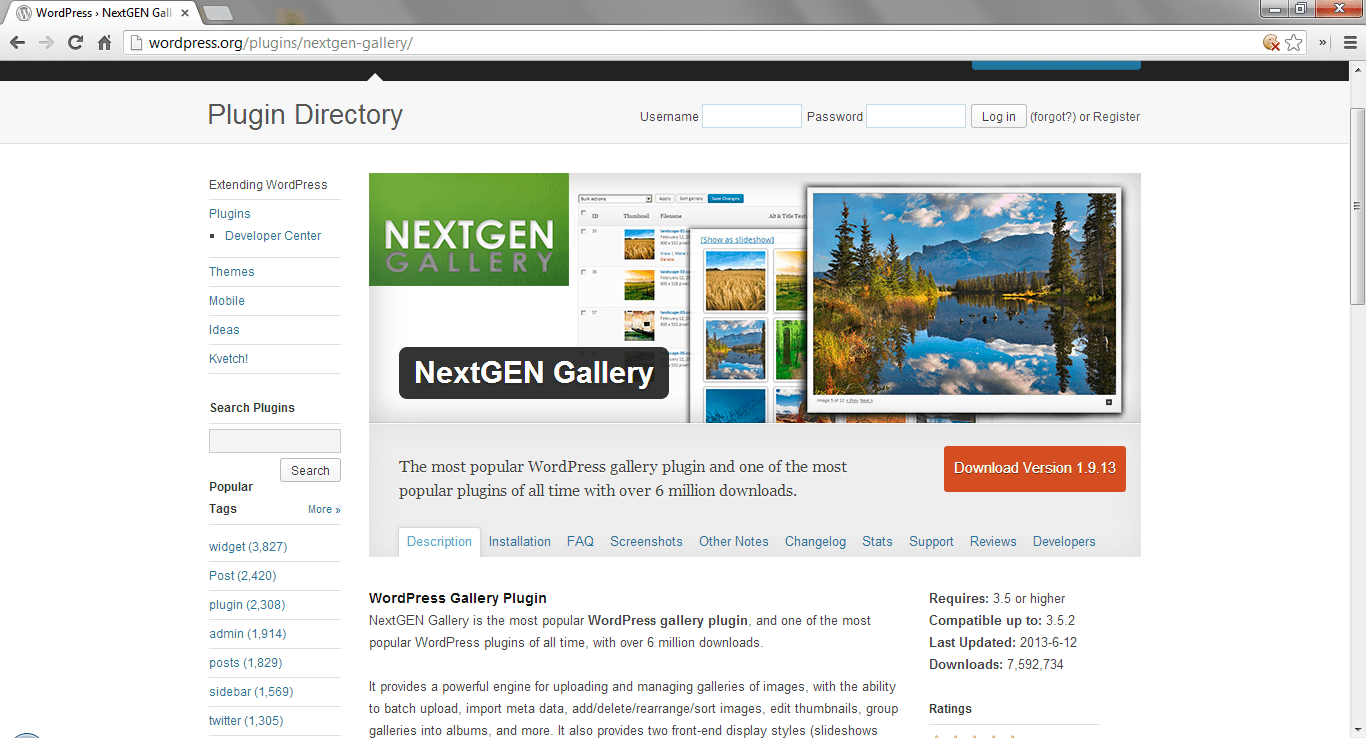
Then, click on the orange “Download” button to download the plugin. Save the zip file to a convenient location on your computer.
STEP 2:
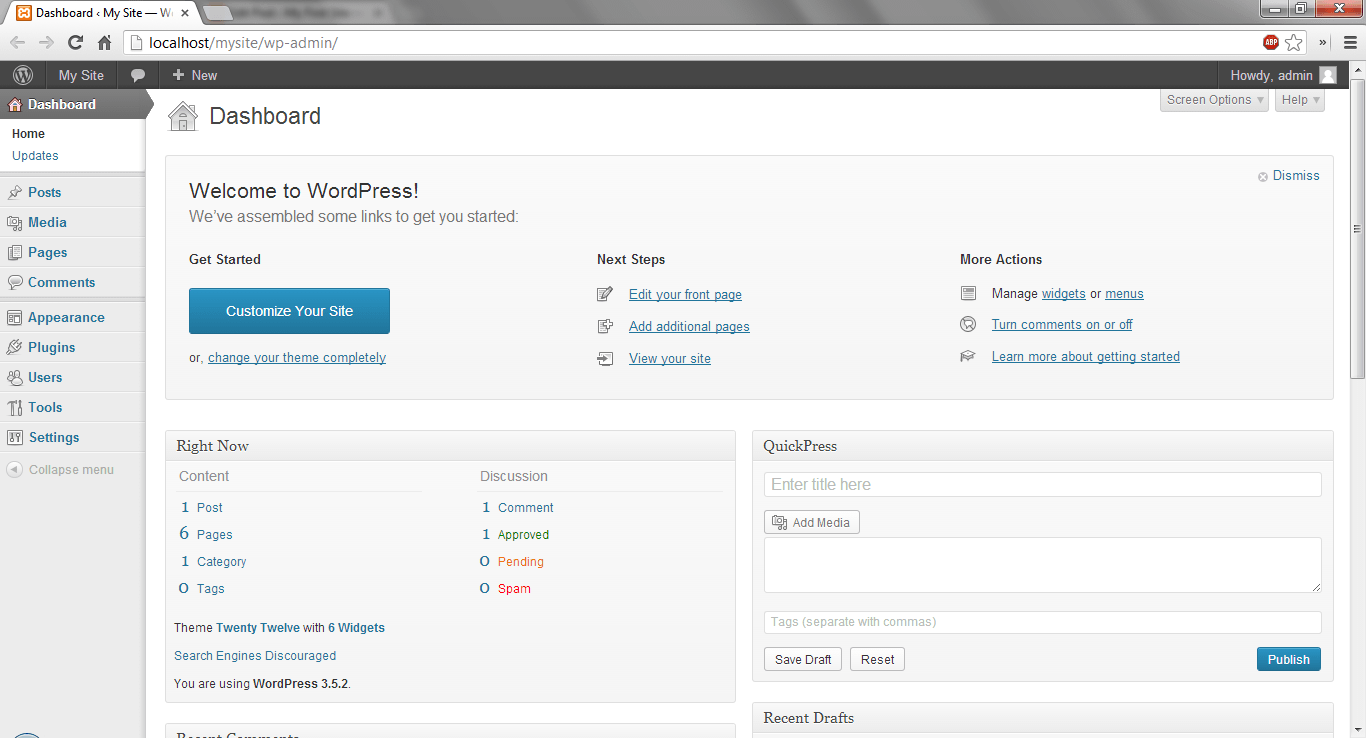
Now, let’s upload and install the plugin to our site. Navigate to your site’s URL and log in to the Admin panel of your site. Make sure that you login using a user account with Administrator privileges for the process to be completed successfully.
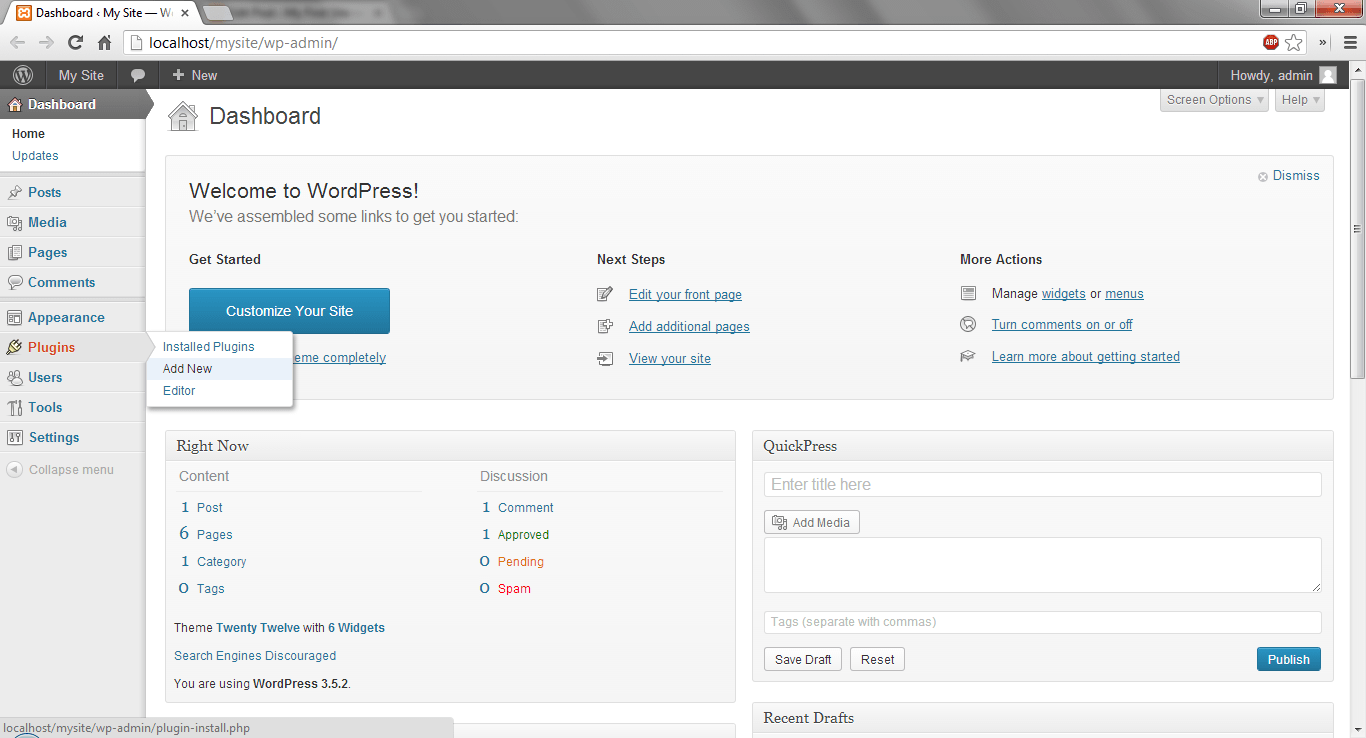
Navigate to Plugins > Add New:
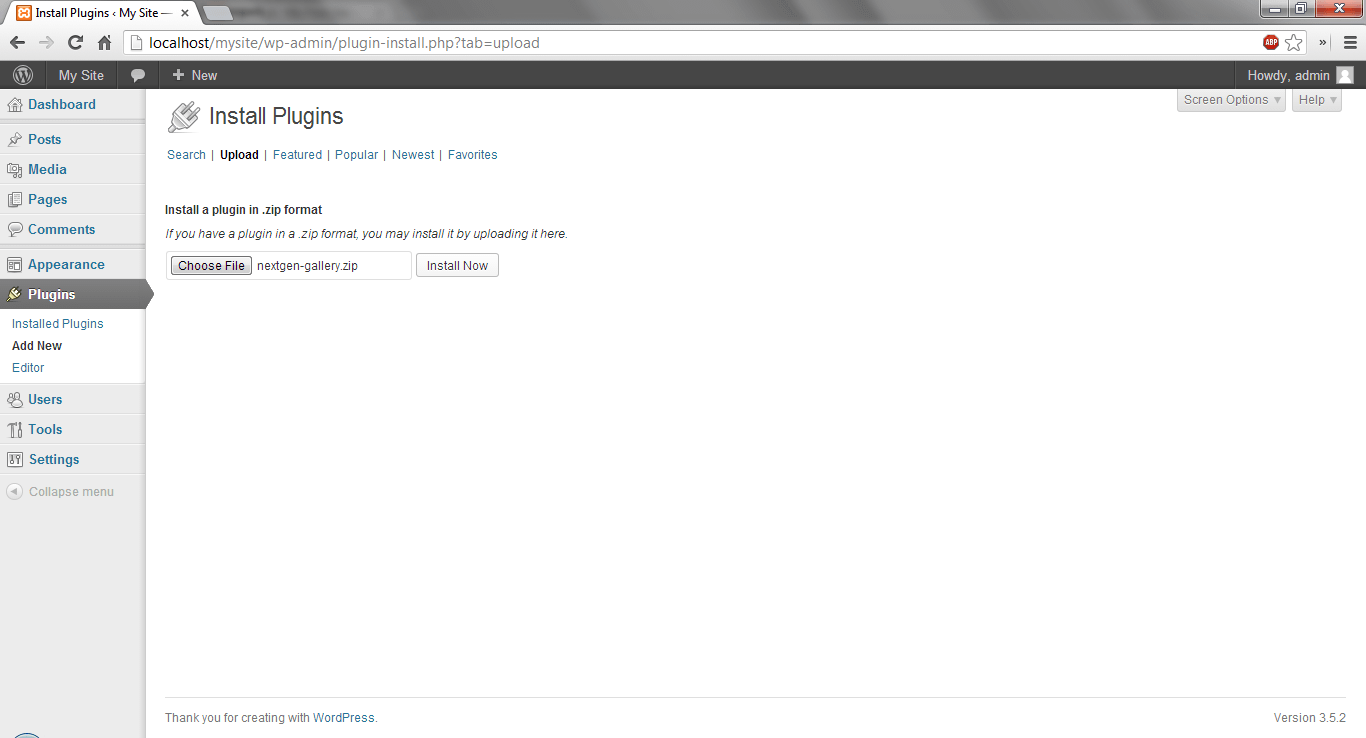
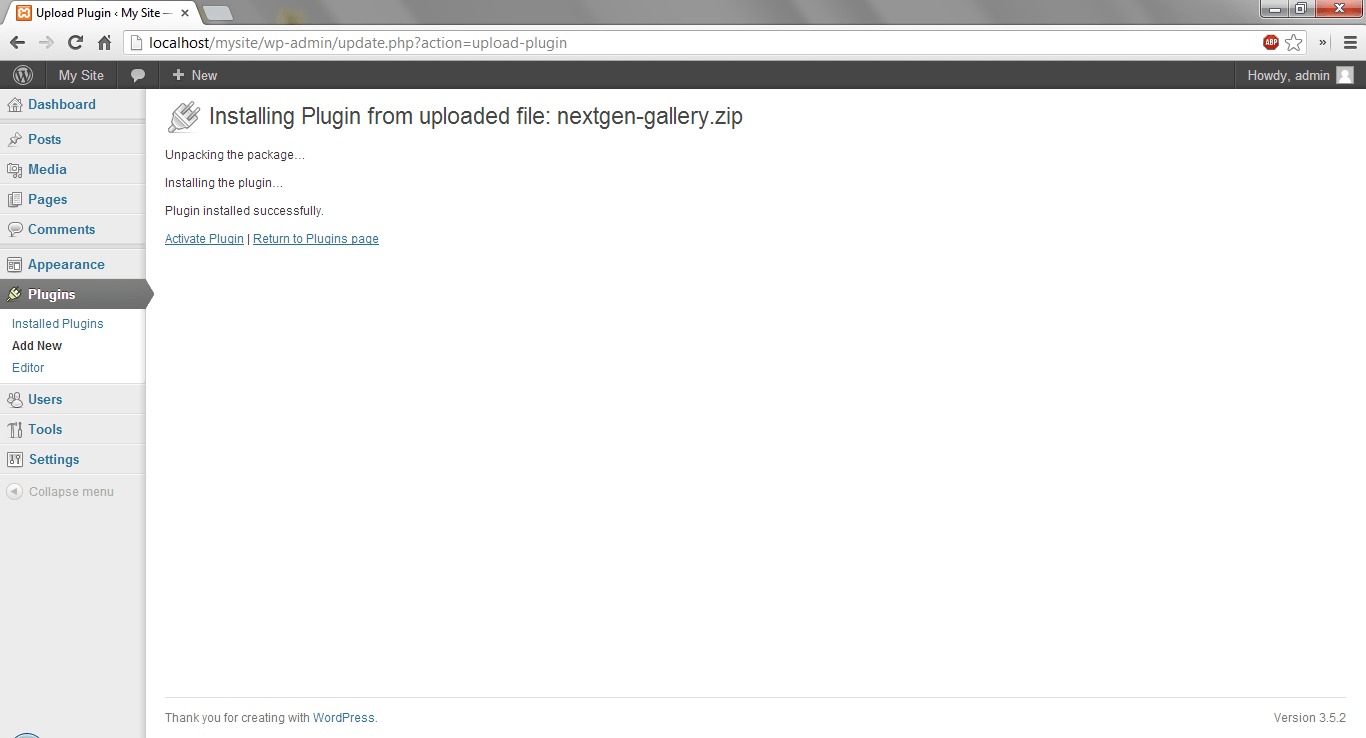
Click on the Upload link and select the file (“nextgen-gallery.zip”) that you’ve just downloaded. Then, click on the Install Now button:
The plugin will now be installed. If the installation was successful, you will see the screen below. Click on the Activate link to activate the plugin:
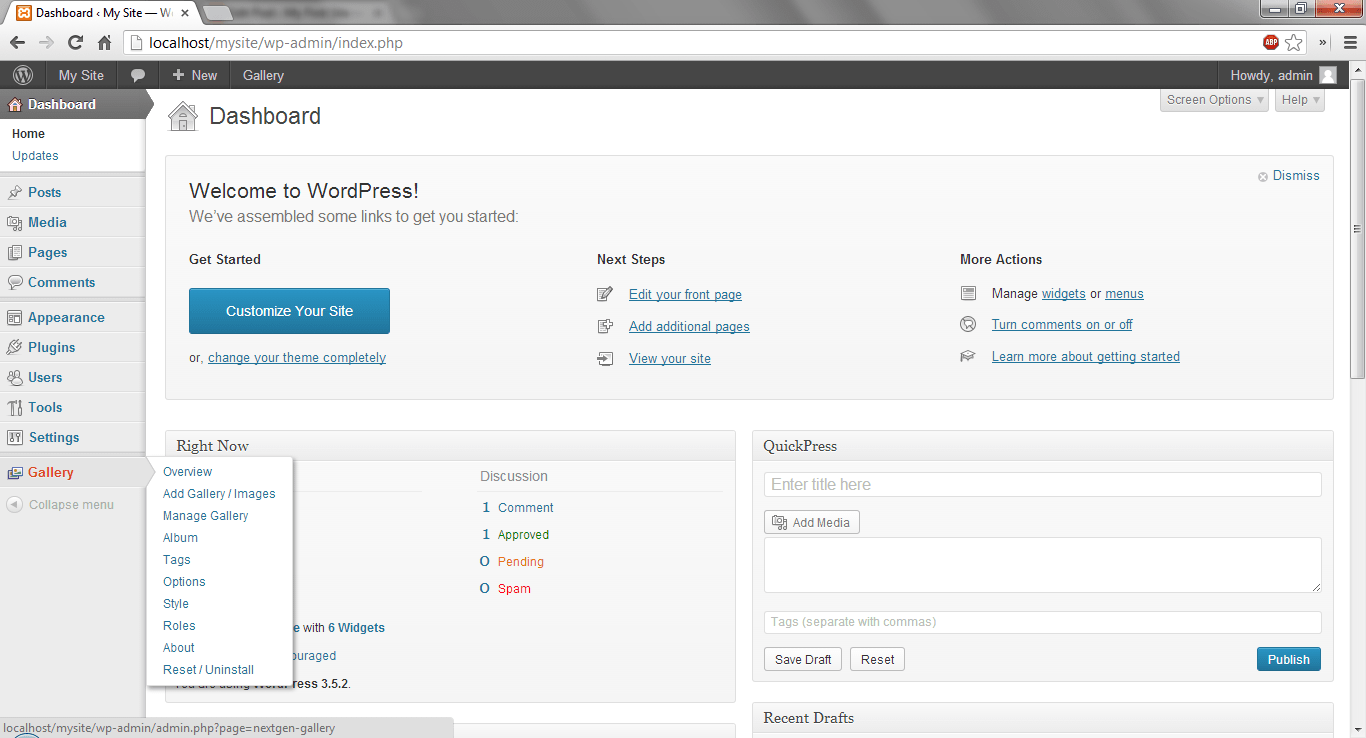
After successful activation, we are now ready to use the plugin ! You will notice that a new Gallery item has appeared in the left hand menu of you Dashboard:
STEP 3:
We can view some basic information about our gallery(ies) by visiting the Overview link. There, we can see how many galleries we have (which were created by the NextGen Gallery plugin), as well as the number of images that belong to NextGen Galleries:
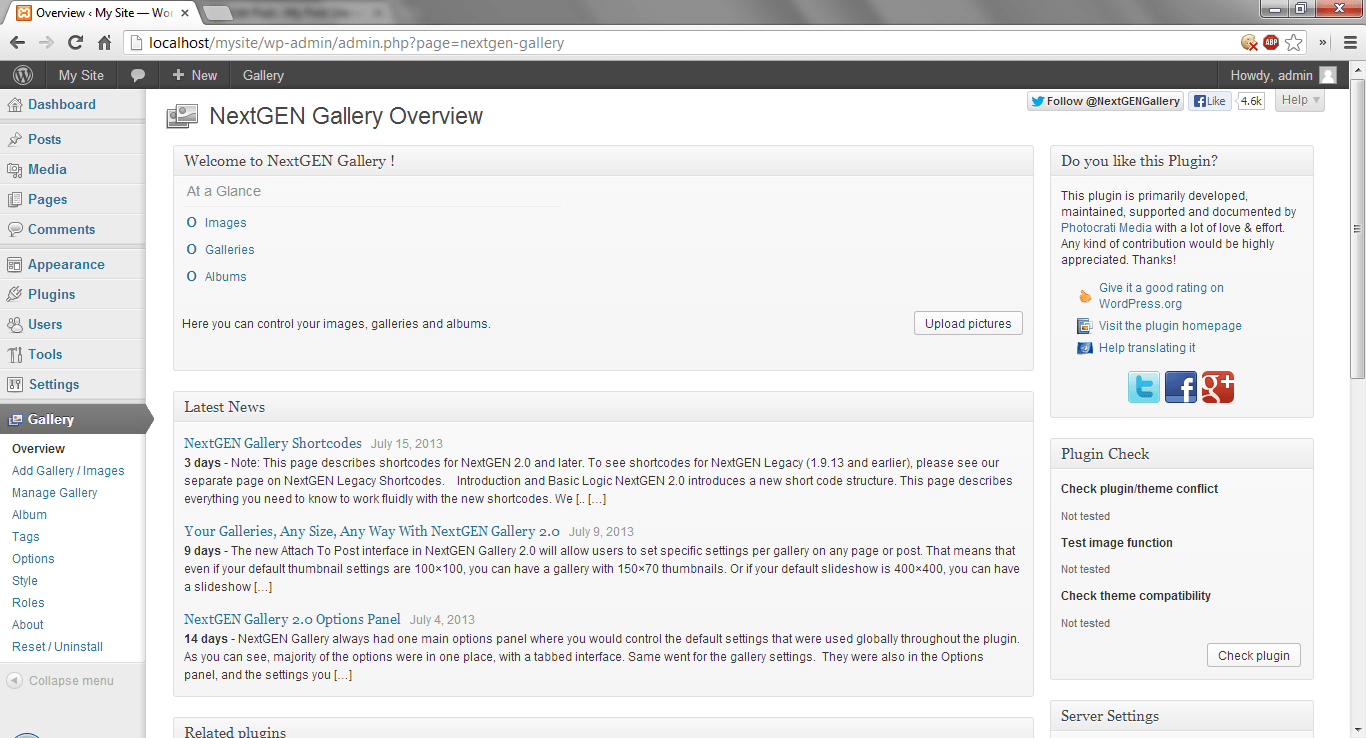
Right now, we haven’t uploaded any images or created any galleries yet, so everything displays as zero. We are about to change that !
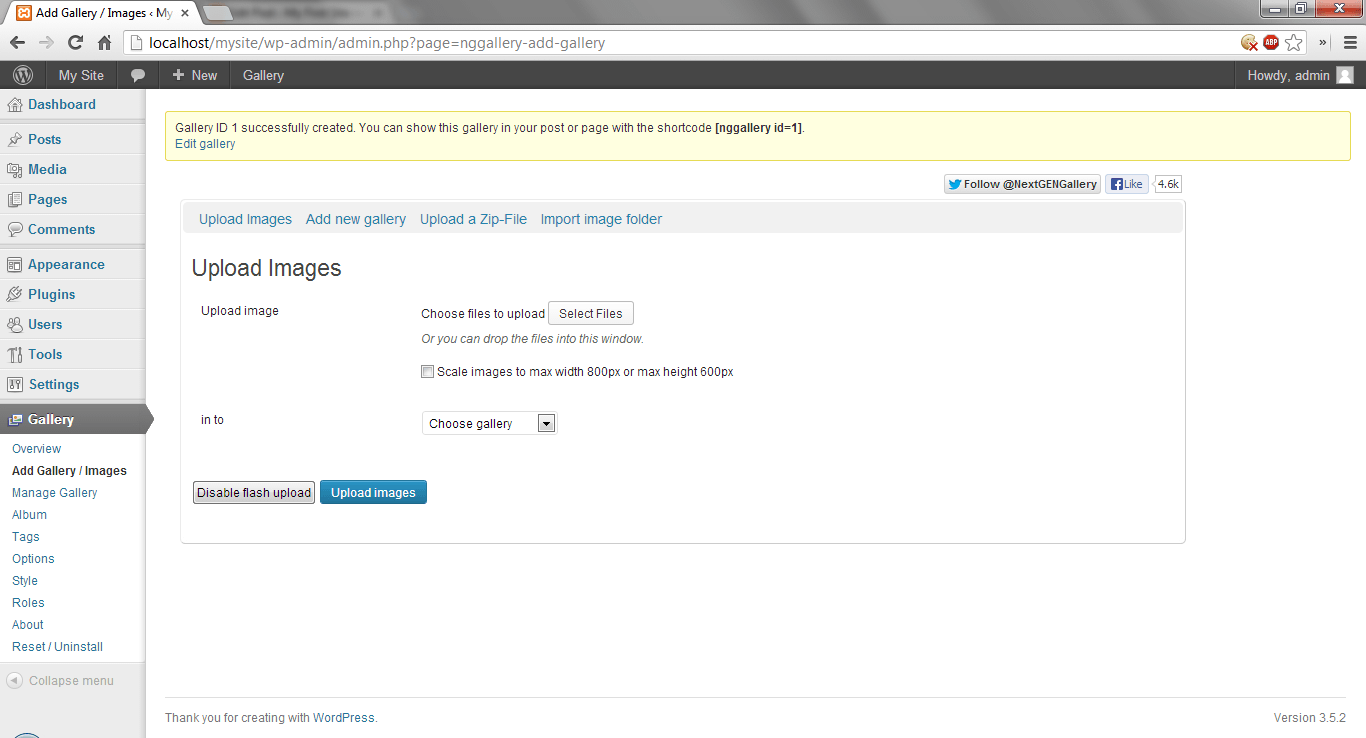
Click on the Add Gallery / Images item and you will be taken to a new page where you can create a new Gallery or add images to an existing one (once you have created at least one). Type in a name for your new gallery and click on the Add gallery button:
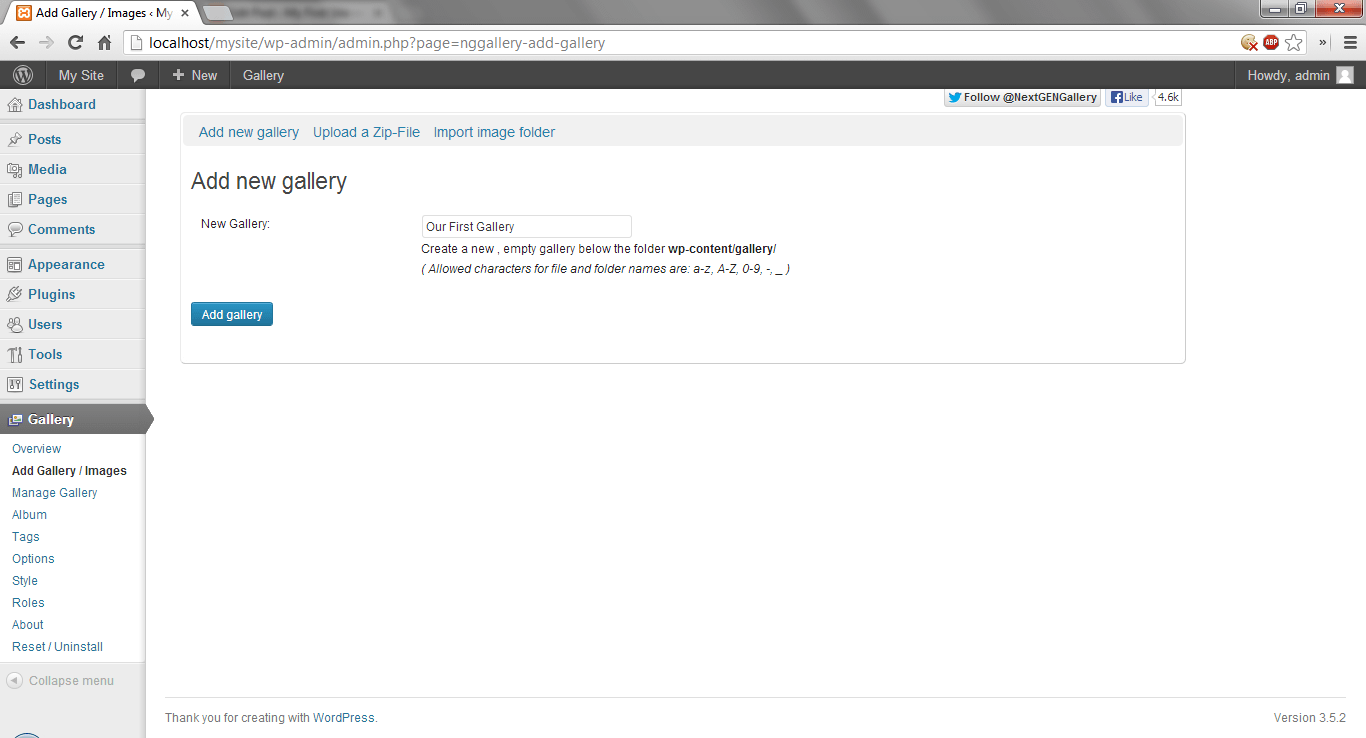
Upon successful creation, you will see the screen below. On the confirmation message that appears highlighted in yellow background you will see something like this:
[nggallery id=1]
Take a note of this piece of code, as we’ll need it later. It will be used to tell WordPress how to link with our gallery and display it:
STEP 4:
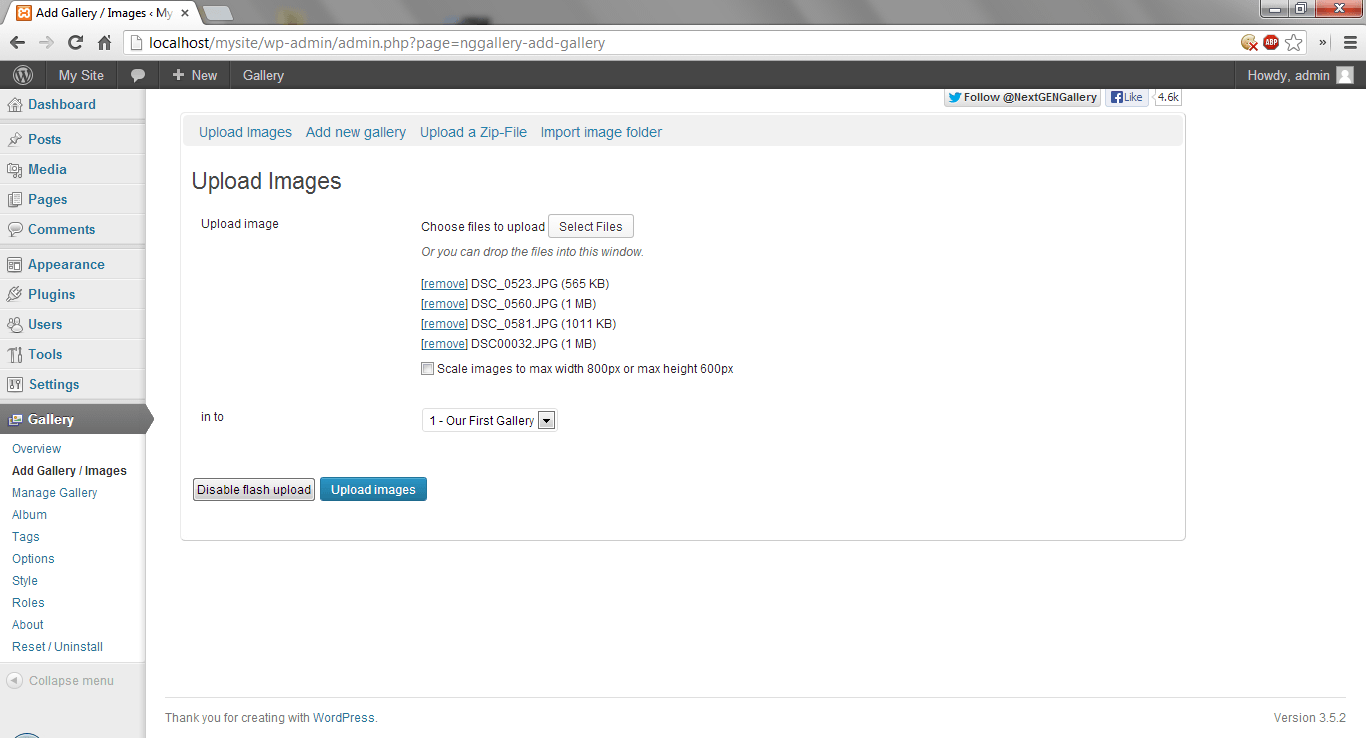
Now that we have successfully created our gallery, it’s time to upload images to it. As you noticed on the above screenshot, the Add Gallery / Images screen has now changed and it allows us to upload images on our newly-created gallery.
To upload images to our gallery, we have to make two simple steps:
1. Select the images that we would like to upload and
2. Select the gallery where we would like them to be uploaded.
To select the images to be uploaded, click on the Select Files button. A new window will appear, where you can navigate to the folder where your images are saved. If you like to select more than one images at the same time, you can drag your mouse around them and select them all. When you are finished, click on the Open button.
You can tick the Scale images to max width 800px or max height 600px tickbox if you are uploading really large images and you would like them to be scaled down.
Then, you have to select the gallery where the images will go into. Choose our newly created gallery from the dropdown box. At this point, your screen will look like this:
When you are ready, click on the Upload images button to begin the upload process. You can always add more images to your gallery later or remove and edit any existing ones.
When the upload process is finished, you will see a confirmation message and a link will appear for you to edit your gallery:
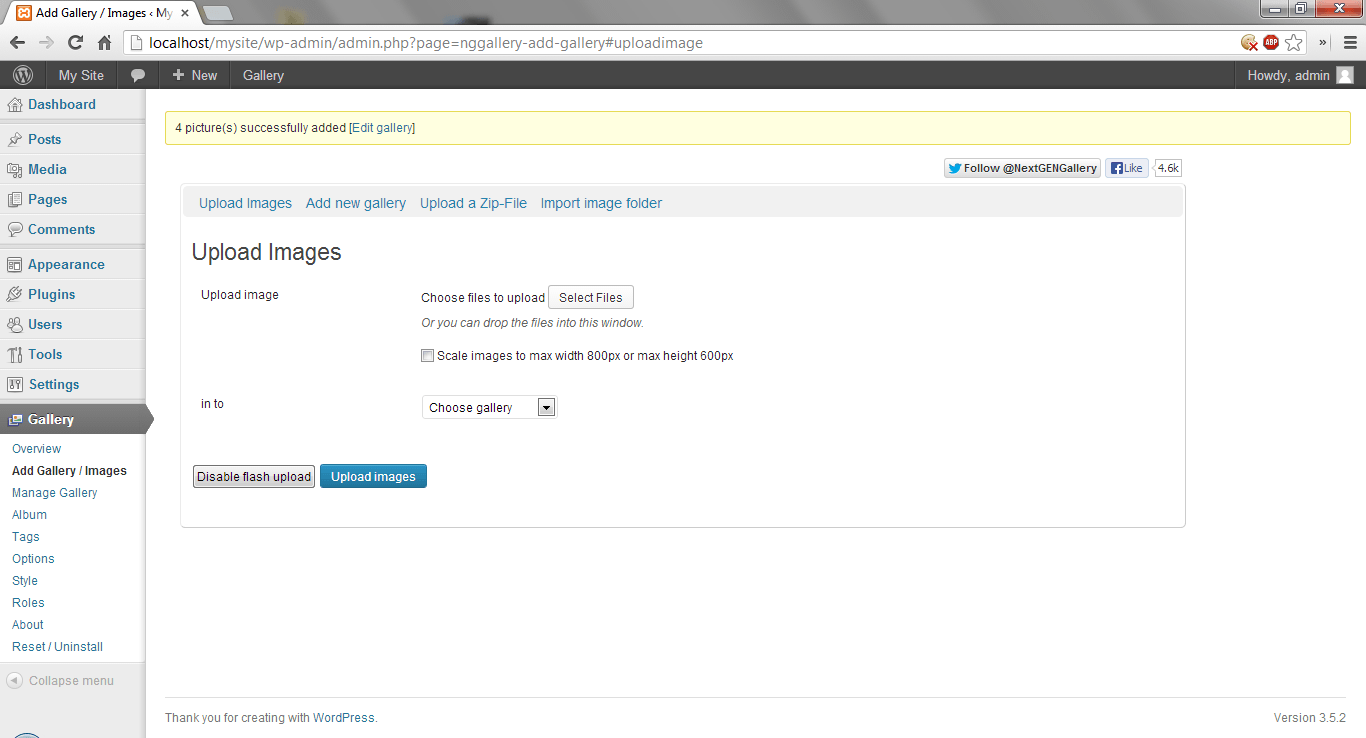
Click on the Edit Gallery link to edit your gallery.
STEP 5:
At this point, we will edit our gallery and update the description for each image. The gallery editor screen can be seen below:

As you can see, we have changed the title and description of each image, rather than leaving the default file names. This is something that we recommend that you always do, as it enhances your site’s SEO and as a result, the site may rank higher in the search results.
To sort the gallery, you can click on the Sort gallery button and and you will see the Sorting screen where you can drag and drop your images to re-arrange them. You also have a variety of automatic sorting options:
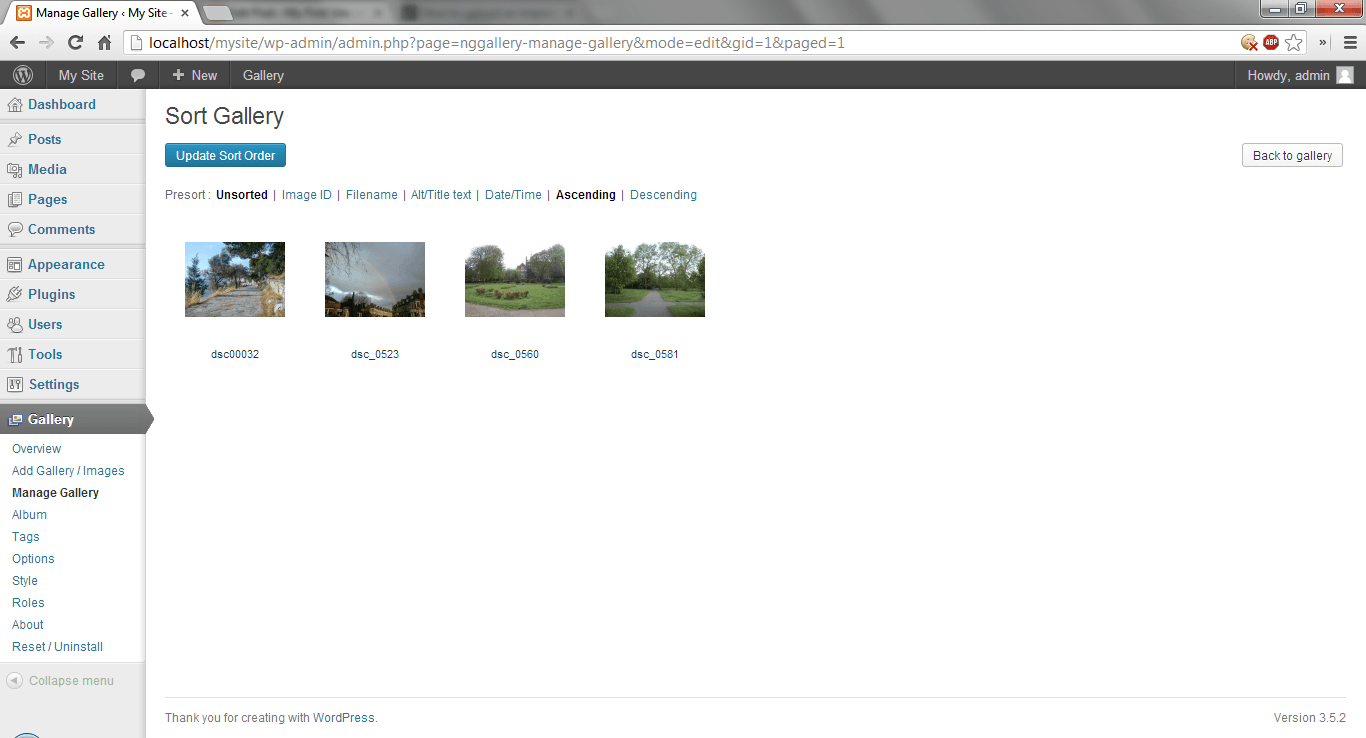
When you are satisfied with the sorting, click on the Update Sort Order button to save the changes.
STEP 6:
Now that we created, populated and edited our gallery, it’s time to display it on our site front-end !
To do so, we have to decide the page on which the gallery will appear. At our example, we will create a new page which will house our gallery. Then, we will link the main navigation menu to this page.
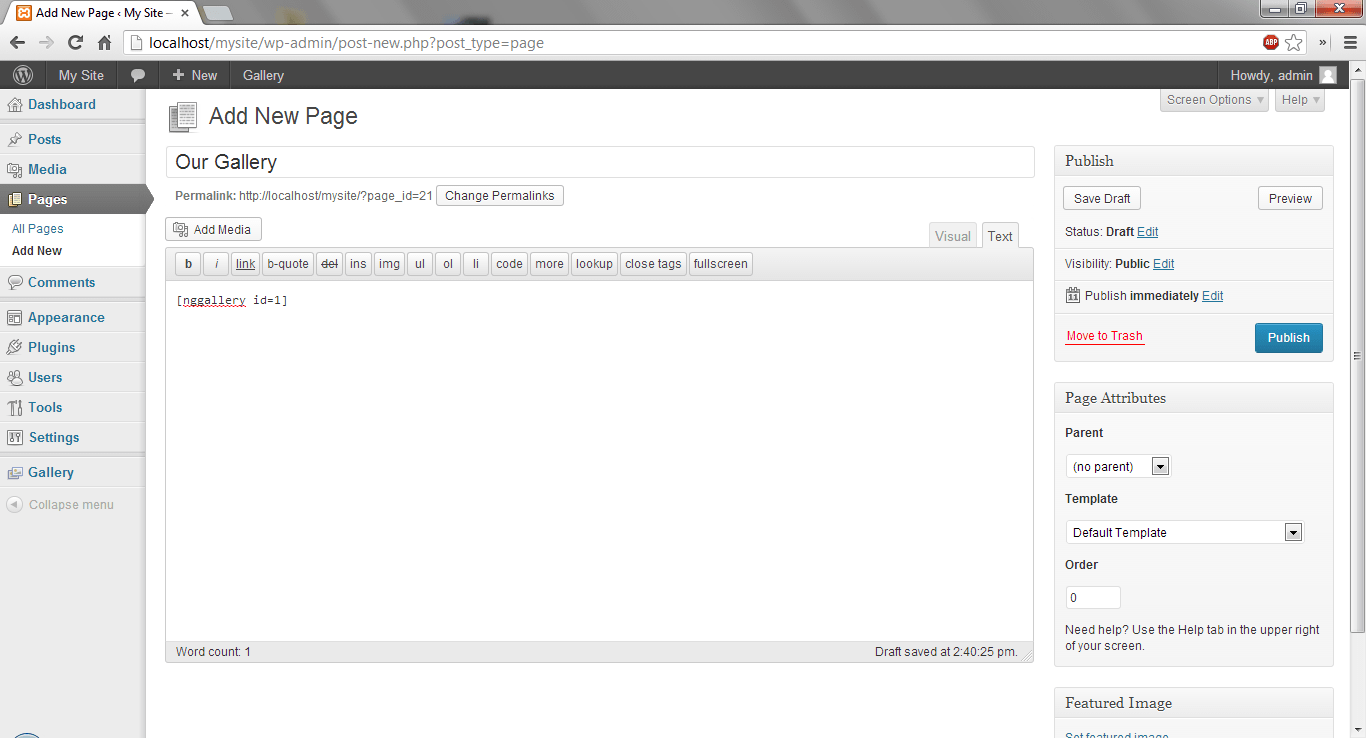
Firstly, navigate to Pages > Add New from your Dashboard. The page editor will open. Give a name for your gallery page and switch the Editor to Text mode by clicking on the Text tab.
Then, paste the code which you took a note of earlier in step 3, which will link to your gallery. Your screen should be similar to this:
You can add some text to accompany your gallery page if you want to. When you are ready, click on the Publish button to save your gallery page.
Now, all you have to do is link the page to your navigational menu. To do that, navigate to Appearance > Menus from your Dashboard and select your newly added page. Then, click the Add to Menu button to add it to your menu:

Once you are happy with the position of the menu items, click on the Save Menu button to save the changes to your menu.
It’s time to see the results !
STEP 7:
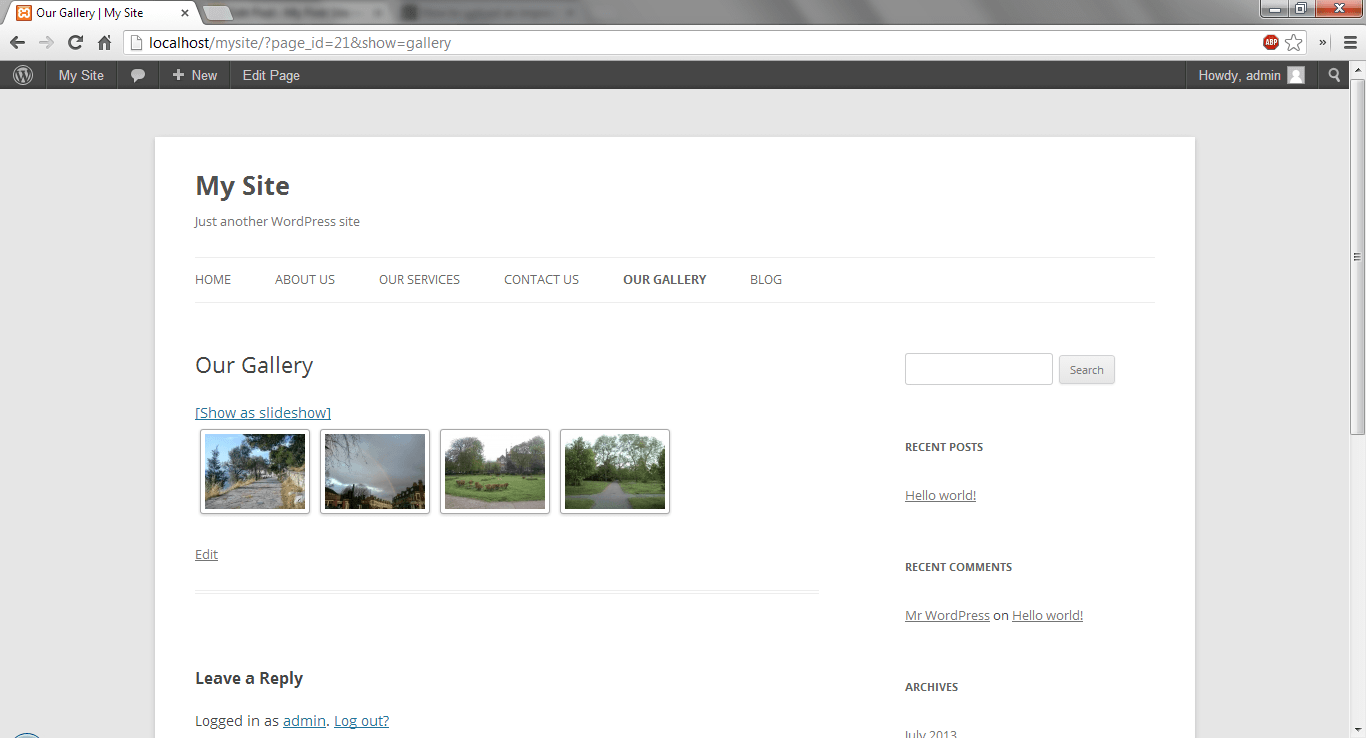
Navigate to your new gallery page and you will see your new gallery images appear as thumbnails:
Clicking on an image will bring it up into full view in its own window:
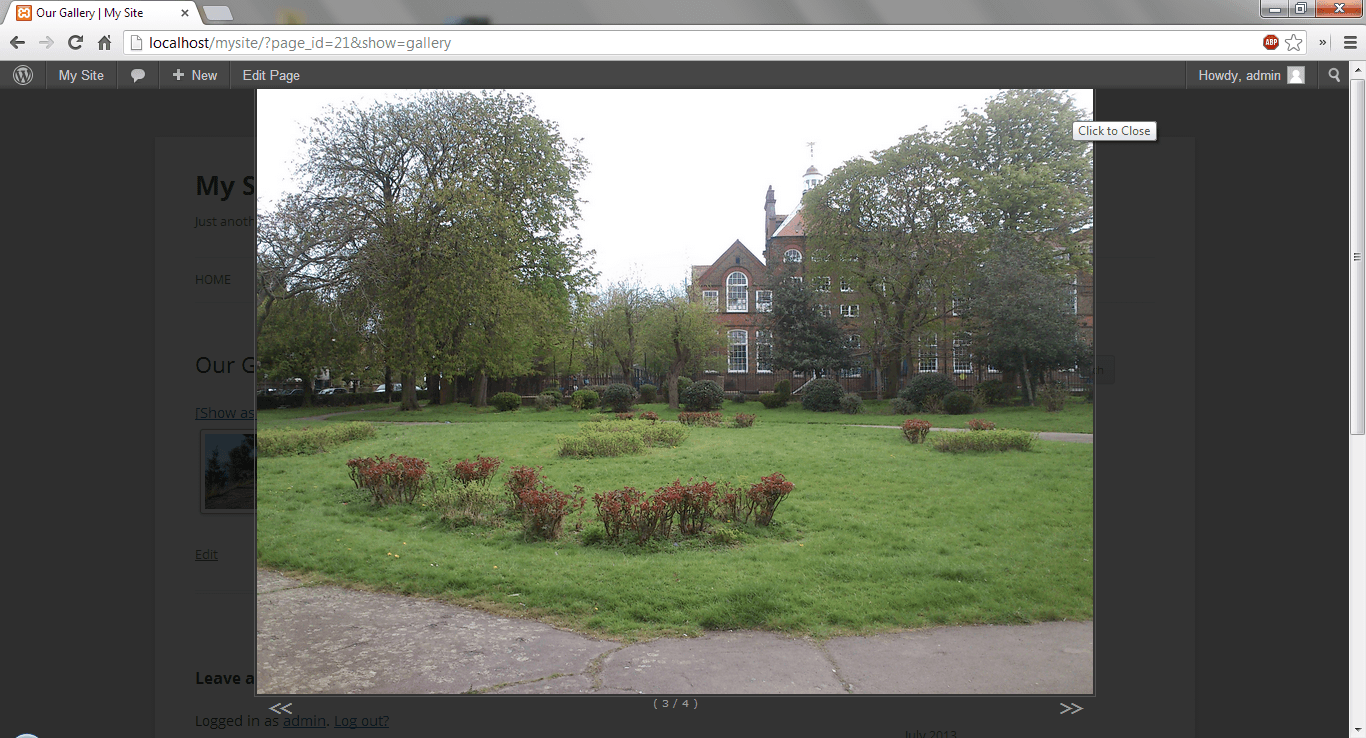
You can navigate between the images by clicking on the “<<” and “>>” arrows or by using the keyboard arrow keys. Click on the image or press the Esc button on your keyboard to close the full image view and return to your gallery page.
Congratulations ! You have successfully added a new WordPress gallery on your site that you can easily manage !
Stay tuned to our blog for more Tutorials and Guides regarding NextGen Gallery and other great WordPress plugins !

Write to us
or call the number 020 8446 1515